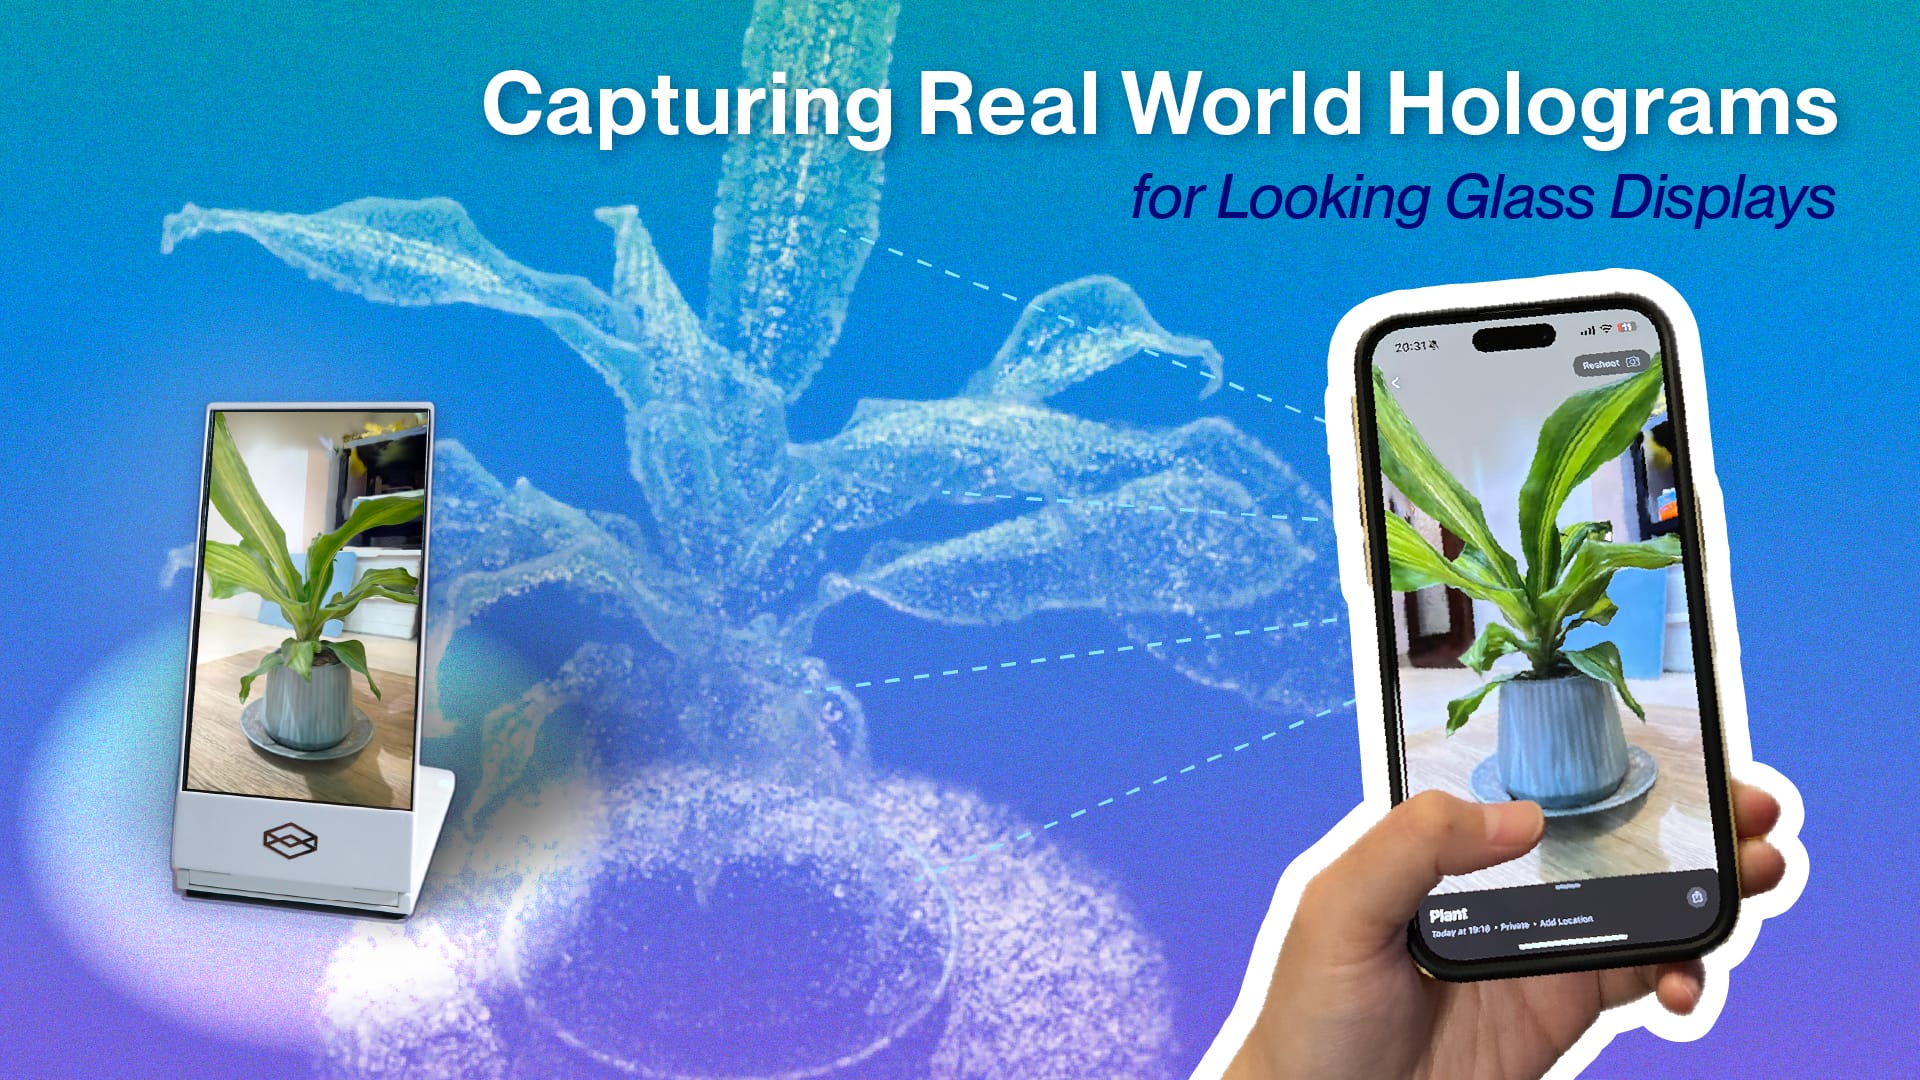
Capturing Real World Holograms for Looking Glass Displays

NEW! ✨
Check out this vlog in video/podcast form in our new series called In Depth!
Welcome back to our blog! This is a continuation of our new series breaking down everything you need to know about the world of 3D! When we left off in our last post, we were exploring why spatial content is becoming more prevalent. If you haven’t given that a read yet, I highly recommend you start there if you’re new here.
Now it’s time to dive into some more of the specifics and in this one, we’re going to be covering the cutting-edge field of capturing real world holograms and how to bring them to life in a Looking Glass display.
First, when I talk about real world holograms, what do I mean? I am mostly talking about holograms of the real world - think people, places, objects, etc. - represented inside of a Looking Glass. Taking a step back, perhaps I’d call it 3D photography, in that, we want to talk about things that an actual “camera” would be able to capture of the real world, and not a simulated camera’s capture of a virtual world.
No conversation about 3D photography is complete without first mentioning stereophotography, a practice first popularized around the year 1850 and through the early years of the 20th century. It was a very simple method to create a depth effect by capturing two images side-by-side, usually with a camera of two lenses, placed about 2.5 inches apart. Simulating the position of our eyesight, this effect creates an illusion of three-dimensionality, and in many ways, a lot of what 3D is today owes it to stereoscopic methods from the past.
You can also say that we’ve come full circle. Many VR headsets of present day, as well as Apple’s very own Vision Pro, rely on the same methods of side-by-side capture and viewing first popularized from those practices in the 19th century.
At risk of this post being a historical deep dive of stereoscopy, I wanted to quickly move on to the topic at hand - which is - how does one create real-world holograms for the Looking Glass?
We’ve been asked this question in many different conversations over the last few years.
As we are looking towards the horizon of the future, it only makes sense that we want more enhanced ways to capture and share what we see — not only with those around us but in many cases, with those who are not with us in the most literal sense. The most frequently asked questions can be boiled down to two essential ones:
- How do we capture our memories, and relive them in a way that is true to life?
- How can we virtually teleport ourselves into another space?
From these questions, we can see there are really two main things that people want to do — find a way to replicate the past in the most vivid way possible, and likewise, to do the same with present company included. The simple answer is that there’s a variety of ways to do so, and it’s up to you to pick which one is right for you.
Before we dive into your options, we should also make it clear that these capture methods are constantly evolving on top of each other, so what may seem complex right now could be what’s right for you in the very near future. In our decade-long experience at Looking Glass, we’ve seen companies built on the backbone of full volumetric capture, only to be replaced by cheaper and less complicated ways to achieve similar results: a true testament to the pace at which some of this technology is advancing.
Okay, enough introduction. Let’s jump into the main methods we’ve come up with for capturing real world holographic content out of the real world, suitable for a variety of experience levels:
RGB-D Captures
First, if you didn’t already know, there’s a lot we can do with just our phones these days. Pretty much all of us are carrying around 3D cameras in our pocket, and we just don’t quite know it yet.
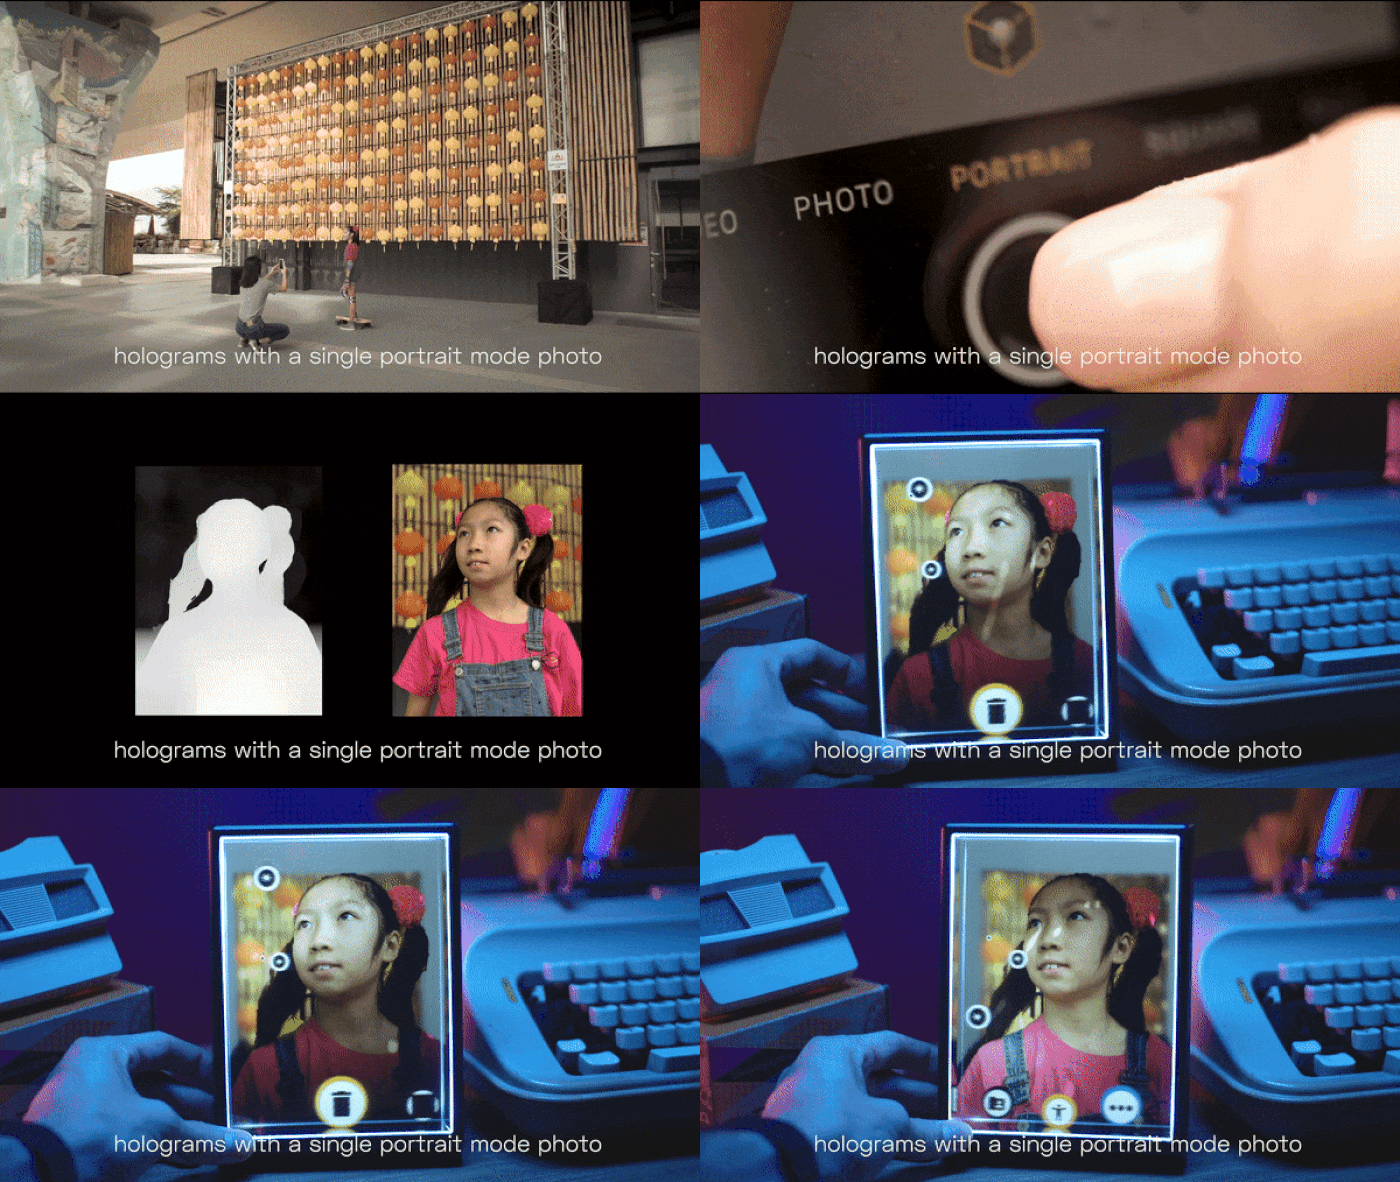
The introduction of Portrait mode capture back with the iPhone 7 plus (!!!) was an early step into what we 3D nerds refer to as RGB-D capture: a photo that takes both the color (RGB) snapshot of a scene, PLUS a photo that captures the depth (D) of a scene.
When your camera takes a Portrait mode photo, what it’s actually also doing is estimating how far objects in the scenes are from the camera. Sure, this is important for a well bokeh’d cinematic photo that puts in focus your wine glass while blurring out the person behind it, but it’s also a key element in helping computers understand a scene and how that scene is set up in the real world (insert quote here about all the world’s a stage). It collects tons of information about the distance from the camera to each point in the scene and generates what’s called a depth map. For more specifics on what exactly a depth map is and how it works, Missy from our team made a really great video about it that you can check out. However, for now we just want you to know your phone can easily create depth maps for you (you’ve probably already made dozens of them), and we can use those depth maps to create real 3D content for Looking Glass.

Today, this underlying technology is built right into our tech stack. With Looking Glass Go and our brand new mobile app, we can take any photo - not just portrait mode photos - shown as a 3D holographic image in our display. We’ve created a depth estimation model, built on the same principles of RGB-D conversion, which can take flat images without any depth data and transform them into 3D images. We’ve seen the quality of this method improve in leaps and bounds over the last 12 months, and it is without a doubt the easiest way to get any image and turn that into a hologram for Looking Glass.

NeRFs and Gaussian Splats
Next up are NeRFs and Gaussian Splats. These are cutting-edge technologies that you may have seen making the rounds in tech circles lately, and all for good reason – they're changing the game when it comes to 3D capture and representation.
Imagine you're trying to recreate a 3D scene on your computer. You've got a bunch of 2D photos of the scene from different angles, but how do you turn that into something you can move around in and explore? That's where NeRFs and Gaussian Splats come in.
NeRF, which stands for Neural Radiance Fields, is like teaching a computer to use its imagination. You feed it those 2D photos, and it learns to fill in the gaps. It's as if the computer is saying, "Okay, I've seen what this scene looks like from these angles, so I can guess what it might look like from any other angle." The result? A 3D scene that you can navigate through as if you were really there.
Gaussian Splats, on the other hand, take a different approach. Instead of trying to imagine the whole scene, they take the content from the 2D references and create tons of tiny 3D blobs (the "splats"). Each of these blobs is like a semi-transparent 3D sticker that represents a small part of the scene. Think of it like one of those pieces of art that is made up of a bunch of little colored dots (this art style is called Pointillism by the way). When viewing the piece of art up close, you can’t really make out what the scene is, but when you take a step back your brain processes the dots and puts the image together. Gaussian Splats do something similar, while also adding depth into the picture. So, when you put all these stickers together in the right way, they create the illusion of a solid 3D object or scene.
So, what's the big difference? NeRFs are like painting a fully detailed 3D picture, while Gaussian Splats paint a little more than the outline of the picture — enough detail for you to discern what you’re looking at. NeRFs can give you incredibly realistic results, but they can be slower to render for real-time viewing. Gaussian Splats might not always be as detailed, but they're super fast, making them great for things like virtual reality where you need to update the image quickly as you move around.
The results from both can be stunningly realistic, allowing you to smoothly move through a captured scene as if you were really there. While a lot of the higher quality captures can take quite a lot of processing power to render, companies like Luma and Polycam have made these capture techniques easier than ever for an average person with just a smartphone to capture.
To demonstrate just how easy this is to do, I published a video walkthrough of how I captured a scene from Disney’s Galaxy Edge using just LumaAI and my iPhone.
While both of these techniques are slightly more complex than just snapping a photo and having that converted into 3D for a Looking Glass, the reason we have it as an option here is how true to life and realistic this method can be when it comes to really capturing the fine details, not only an estimation of a real world scene.
The final form of a NeRF or Gaussian Splat is output as a 3D scene, usually in the form of a .PLY file. These can be exported as such and thrown into our experimental GSplat Explorer to be viewed on any Looking Glass.
Light Field Photography
Lastly, as a special mention, light field photography is another fascinating area that's been making waves in the 3D capture world, and much of the backbone capture technology in which Looking Glass’ technology has been built on. Unlike traditional photography that captures a single, flat 2D image, light field cameras capture information about both the intensity and direction of light rays. This allows for some pretty mind-bending capabilities, like being able to refocus an image after it's been taken or even slightly shift the perspective.
Because light fields capture various angles and information of a scene, we need a way to view and compile all of that data as one. For this, we use a file called Quilts. Put very simply, this is a collage of the images captured by light field setup in a format (which resembles an intricate quilt you may find at your grandma’s house) that Looking Glass displays can read to show the scene in 3D.
The technology behind lightfield photography isn't new – the concept dates back to the early 20th century – but recent advancements have made it more practical and accessible. Companies like Lytro (although no longer in business) pioneered consumer light field cameras, and the technology continues to evolve.
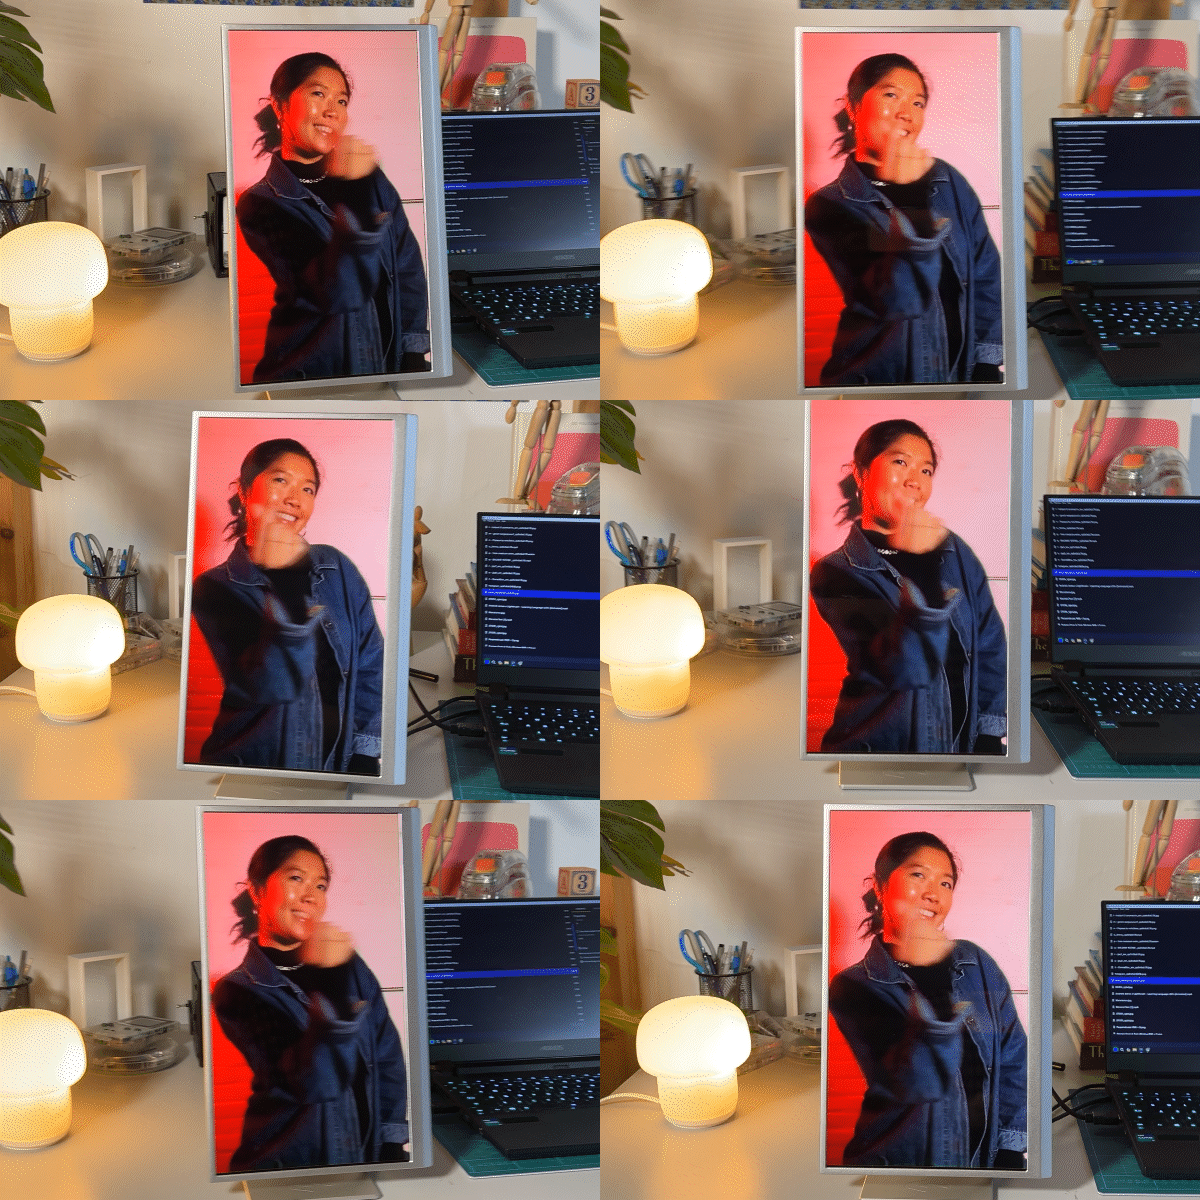
For displays like the Looking Glass, lightfield photography is particularly exciting. It provides a rich dataset that can be used to create truly immersive 3D images. Imagine being able to look around objects in a photograph, or examine a scene from multiple angles – that's the kind of experience lightfield photography can enable. Over the years, we’ve set up many-a light field photo booths in exhibitions and trade shows around the world but the trade off is really just how cumbersome and fussy the capture method can be. While this is the truest way to capture a 3D scene in all its actuality (vs. the prior two methods where machine estimation is left to fill in the gaps), the trade off with light field photography is how difficult it is to get things set up.

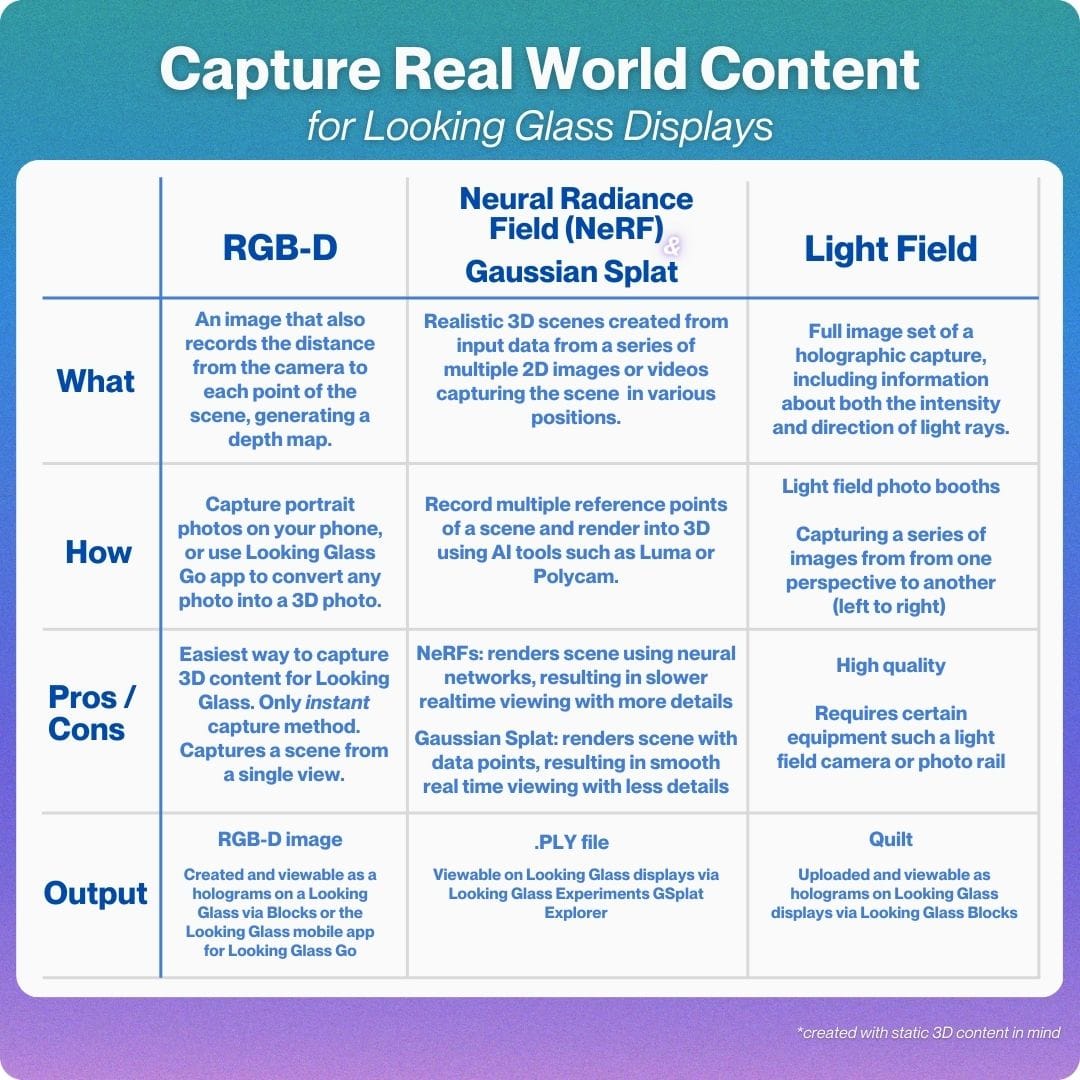
So here's a brief summary to keep you up to date of everything we just went through and how you can start creating real world holograms for Looking Glass, today!

All of these technologies – from NeRFs and Gaussian Splats to lightfield photography and full volumetric capture – are converging quickly and only the future knows where it will lead. In many ways, this is the future of capture and communication, where interactions aren't limited to flat screens but extend into the three-dimensional space around us.
At Looking Glass, we're constantly exploring ways that we can be more involved and how we can influence, having a front row seat to this changing landscape. Our displays are designed to bring these advanced capture methods to life, creating truly immersive experiences that were once the stuff of science fiction.
As we continue to push the boundaries of what's possible in 3D capture and display, we can't wait to see what kinds of amazing experiences you'll create. So go ahead, start capturing your world in 3D – you might be surprised at just how magical it can be.
To the future!
